

How to migrate Microsoft Stream is one of the most sought-after questions, by the users of office 365 ecosystem.
You have the answer! Get now Apps4.pro Migration Manager from JiJi Technologies and get it done in few clicks.
The usage of Microsoft stream is gaining momentum and is going to occupy a prominent place in workplaces.
The difficulty in using video files – the storage, is taken care of by Microsoft and it offers a huge storage space. Now a user can upload up to 100,000 videos and we get 50GB each.
Now the only difficulty the users face is – ‘How to migrate Microsoft stream?” and most of the users try to migrate stream from one tenant to another.
Start to use Apps4.pro migration manager, follow simple and easy steps and experience the vanishing of your question ‘How to migrate Microsoft stream’ and the related vagueness.
With Apps4.pro migration manager, you can migrate all the following vital components of your Microsoft Stream
- Group
- Stream channels and its thumbnails
- Videos
- Meeting recording
- Group Members
- Video comments
- Metadata (Name, Description, Language, Thumbnails, Subtitle, Caption)
- Video permission
- Personal videos
How to migrate Microsoft stream – guide for using Apps4.pro migration manager
To check the function of the app, start with two demo accounts – one as the source account and other as the target account.
I logged into office 365 in my source account and chose the ‘Stream’ app as shown below.
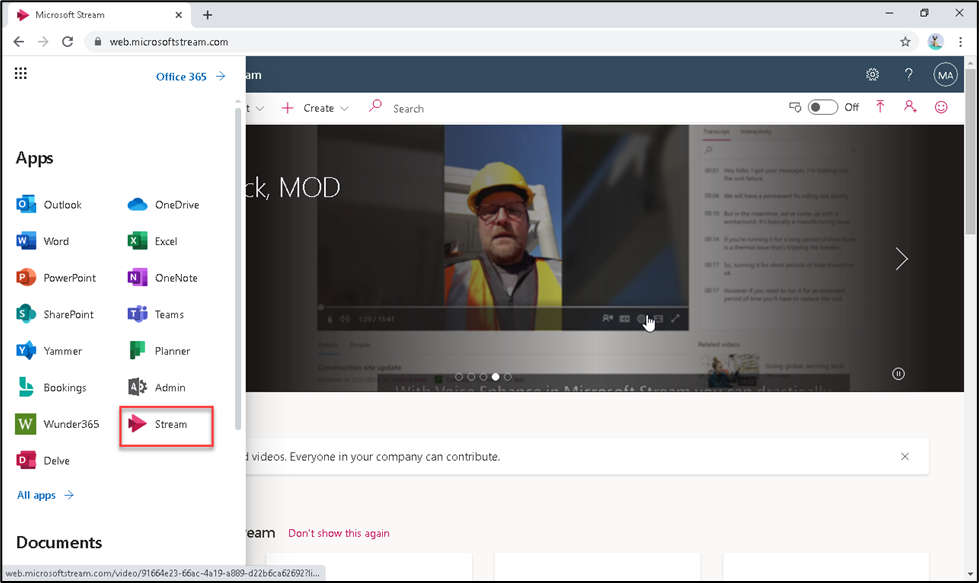
I used options in the menu bar, and created a channel named ‘New Stream Test.’
(To show you an example. Instead, you can migrate available channels in your stream)
Then made a screen record, named it ‘Sample Test’ and added it to the channel.
Similarly added another video ‘Forms integration’ into the channel.
(While doing so, make a note of description, permission, language, metadata, caption and other details you provide for the videos. Later, you can check it for migration.)

Now click open the Apps4.Pro migration manager.
You will get the following window.
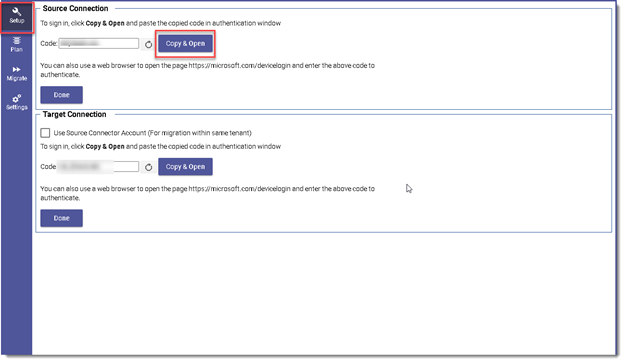
Select ‘Set Up’ from the side menu as marked by the square.
Then select ‘Copy & Open’ in source connection.
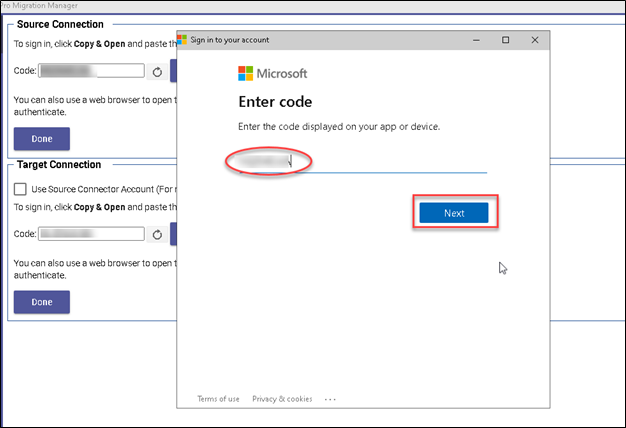
Paste the code in the resulting window as circled below and click the ‘Next’ button.
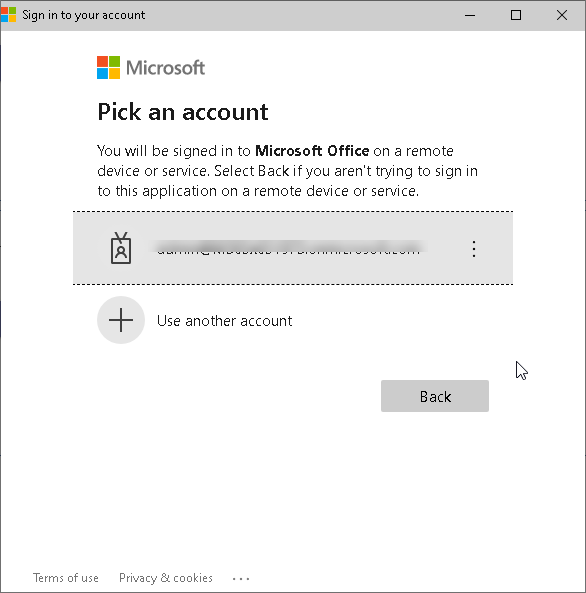
Then provide Login credentials as shown in the below windows.
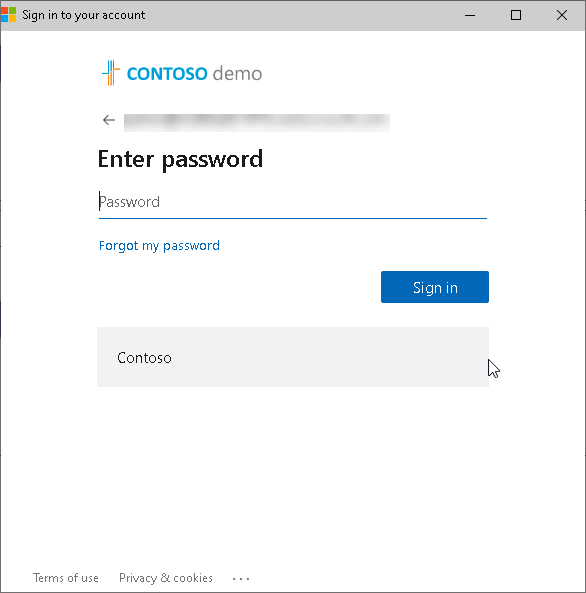
Repeat the same login procedure for the target connection also and you will be signed in for migration.
You can see ‘Connections’, both in source and target areas as marked by the larger rectangle in the below image.
Click ‘Configure’ to make connections for the migration.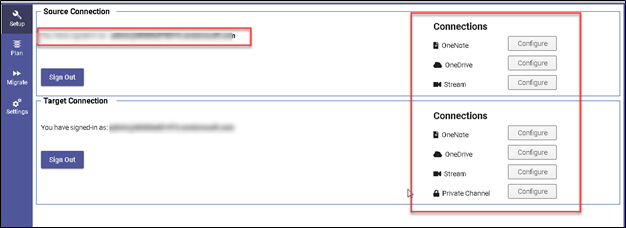
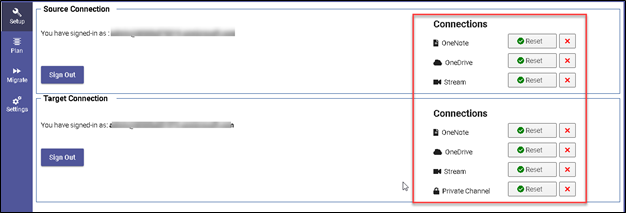
You can check it whether connections are made or not by seeing the below window.
In the below image, you can see that connections are made in One Drive, OneNote, Stream and Private Channel. To make migration in Stream alone, getting connection for Stream is sufficient.
Now choose the ‘Plan’ option from the side menu.
You will get details about your plan, source analysis summary and a report about the teams, users, groups, plans and channels.
There are also options provided to go to Apps4.Pro website and to reach support, as marked below.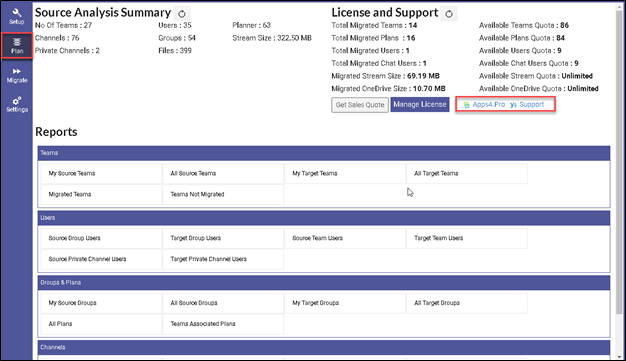
It is time to migrate your stream.
Choose ‘Migrate’ from the side menu.
You will get the summary of migrations you have made so far if you have used the app before for migrations. (You can see the summary of migrations I made, in the below image).
Now click the ‘Create New Job’ option that is circled below.
Give a name in the ‘Job Name’ field.
Choose ‘Stream’ from the drop-down menu marked by the rectangle in the below image.
Also choose the components you want to migrate from the check boxes.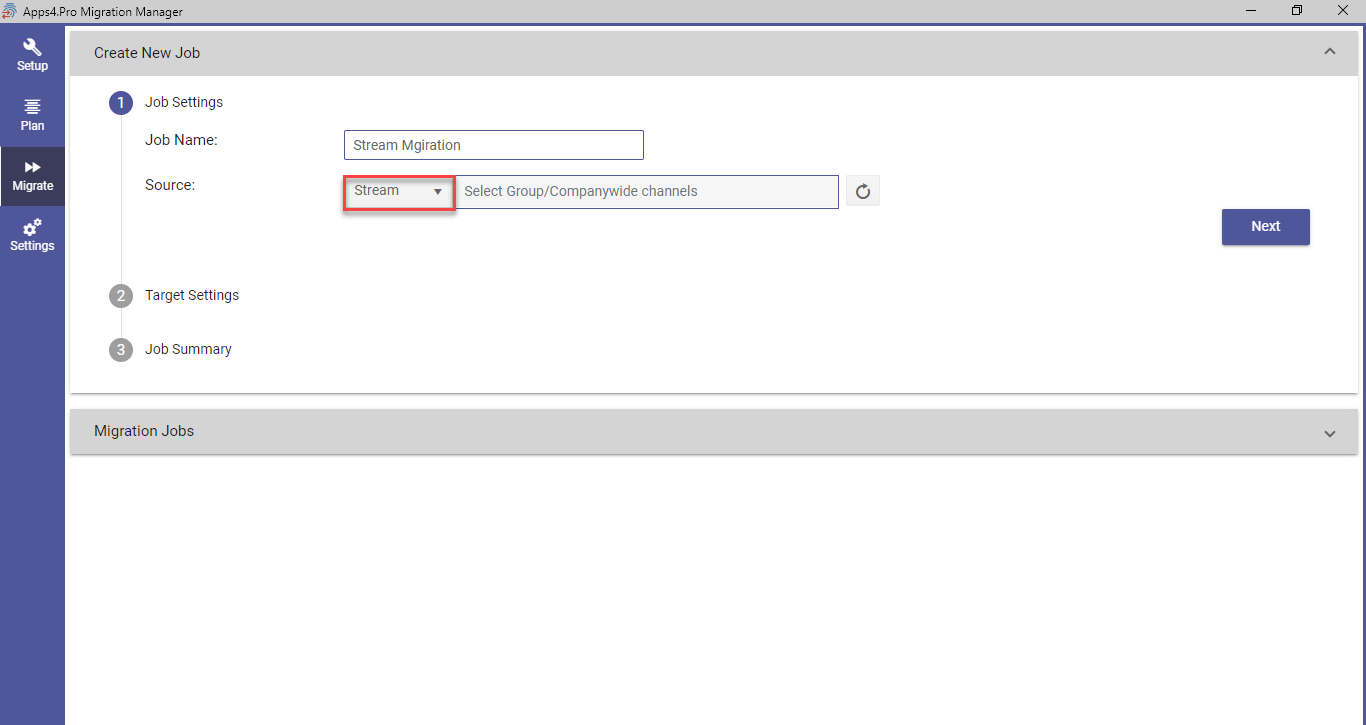
Now select ‘Group/Companywide channels’ option.
You will get a drop-down list.
In the following image, you can see the ‘New Stream Test’, I have created before.
I choose it and clicked the ‘Next’ button.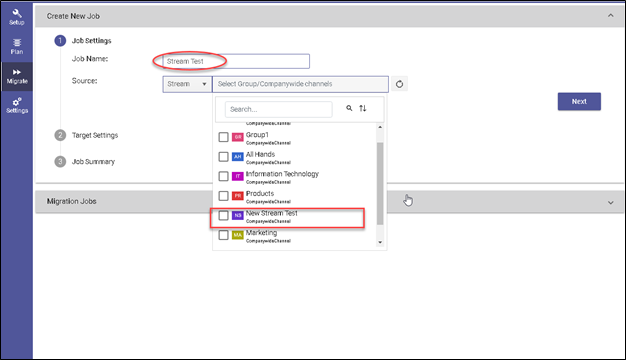
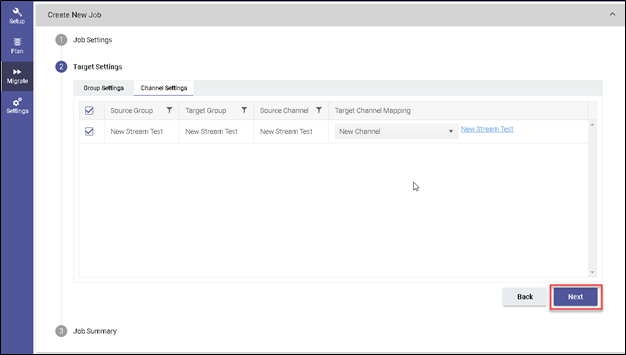
Mapping of Source and Target will be done, and you will get the following window.
Now click the ‘Next’ window.
(I didn’t change the name and provided the same name ‘New Stream Test’ for the target channel’. You can change the name if you want to)
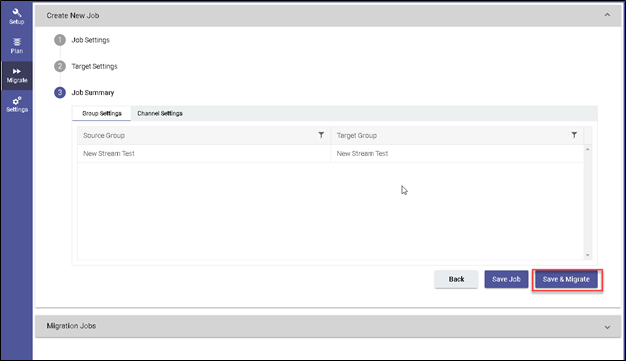
Next you will get the following window in the sequence of migration.
Now choose the ‘Save & Migrate’ option.
You can see the migration, while it is going on as the migration manager lists the operations in a scrolling text.
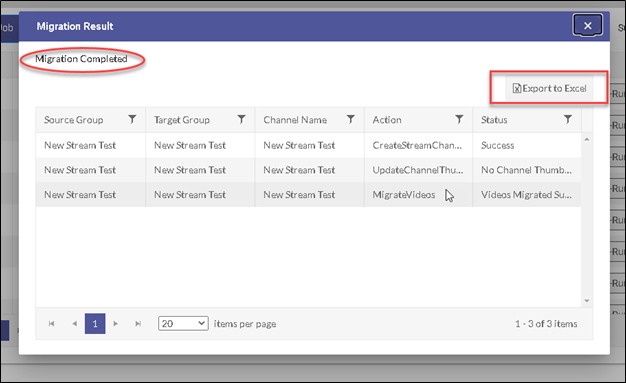
Finally, you will get the ‘Migration Completed’ window as shown below.
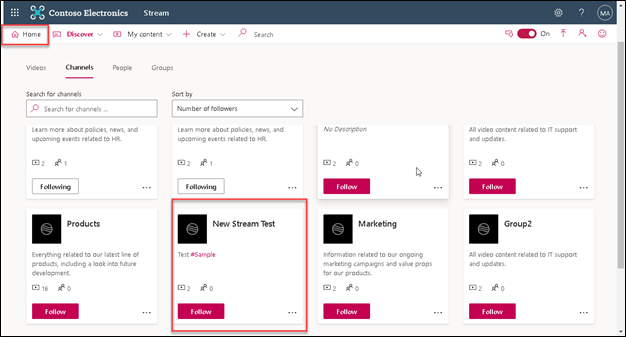
Below image shows the ‘New Stream Test’ channel in the source tenant among the list of other videos in the home page of the Stream.
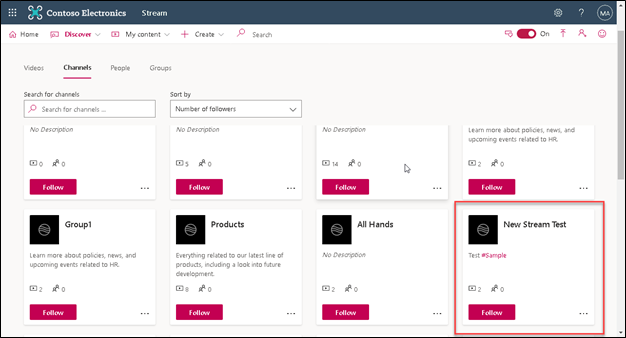
Similarly, the below image shows the ‘New Stream Test’ in the target tenant after migration.
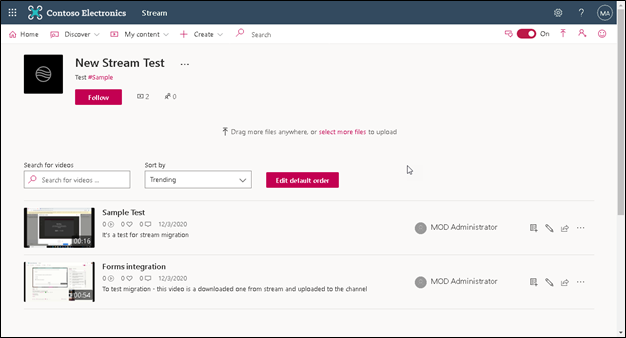
I clicked open the ‘New Stream Channel’ and saw ‘Sample Test’ and ‘Forms Integration’ videos that were added in Stream in the source tenant.
You also can check for the migration of other details related with the videos in your migration.
Contact US Now
Apps4.Pro Migration Manager is available as a browser extension in the Microsoft Edge addons store.
Reach our support and get Apps4.pro Migration Manager.
Microsoft Stream migration tool
Please write to us at the below email address for questions.
Sales:
sales@jijitechnologies.com
Support:
support@jijitechnologies.com
Get it from Microsoft Certified Partner, who won awards and provides a range of Apps used by thousands of people all over the world.
You would also like the service after sales for which we get good reviews. Our professionals in support team are a bunch of enthusiastic people who feel happy to help you with relevant answers.